Practical guide · Reconstruction troubleshooting
Fixing Blurry Splats, Floaters and Missing Areas: A Practical Checklist
Blurry book spines, fragments beside a desk or a gap behind a chair? When reviewing a scene in MakeWorlds Studio, keep a copy of the project and stop at the problem area. Follow the checks below, make one main change at a time and compare from the same viewpoint.
Before you change anything
- Keep the original photos and project. Work on a copy, move rejected photos to a separate folder and save a separate version before removing scene content.
- Let the scene finish loading. Stop at a normal viewing distance and capture the problem. Use a nearby doorframe or desk corner to find the same viewpoint again.
- If the issue appears only after export, check the same spot in the original project first. Confirm that the receiving viewer supports Gaussian data and has fully loaded the file.
Blur: start with the source photo
Pick a detail you can compare reliably: a book edge, a rug pattern or a doorframe joint. Keep that target fixed while checking sharpness.
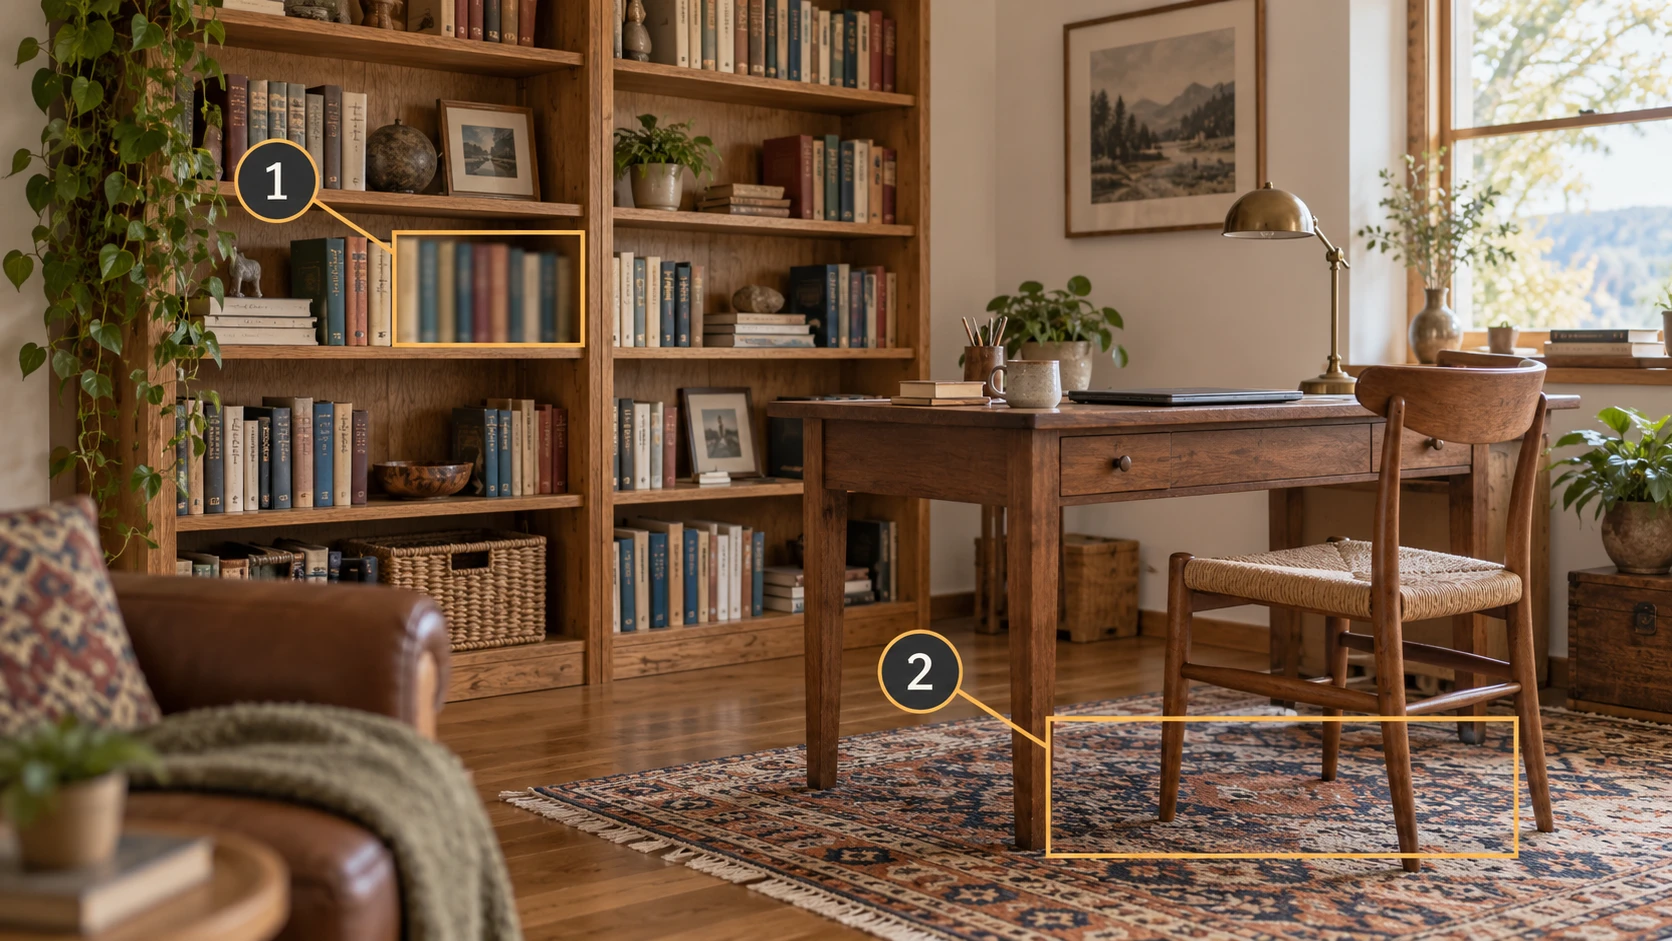
Inspect the matching photos at 100%.
Open several neighboring photos at full size. Look for motion trails, missed focus or a subject that occupies too few pixels. If none shows the detail clearly, reshoot it.
Set bad frames aside and check what remains.
Exclude badly blurred, heavily overexposed or obstructed frames from the working input folder. Check that neighboring photos still share visible features. Reshoot any gap left by removing them.
Move closer without losing the surroundings.
Start with a view of the whole target, then move closer gradually. Keep part of the previous view in each frame. Settle the camera, check focus and inspect a few shots at full size before leaving.
If the originals are sharp, check the actual inputs.
Make sure the reconstruction used originals rather than messaging-app copies or thumbnails. Check the recorded input dimensions. If your viewer has a low-resolution preview option, return to its normal quality setting before comparing.
Return to the saved viewpoint at the same distance and display size. Inspect the chosen detail, then move slightly to either side. If it remains soft, keep the matching photos, screenshot and processing log rather than changing several settings together.
Floaters: inspect from another angle before deleting
When fragments appear beside a desk or doorway, move around them first. Something that looks isolated head-on may overlap a desk edge, chair back or small object from the side.
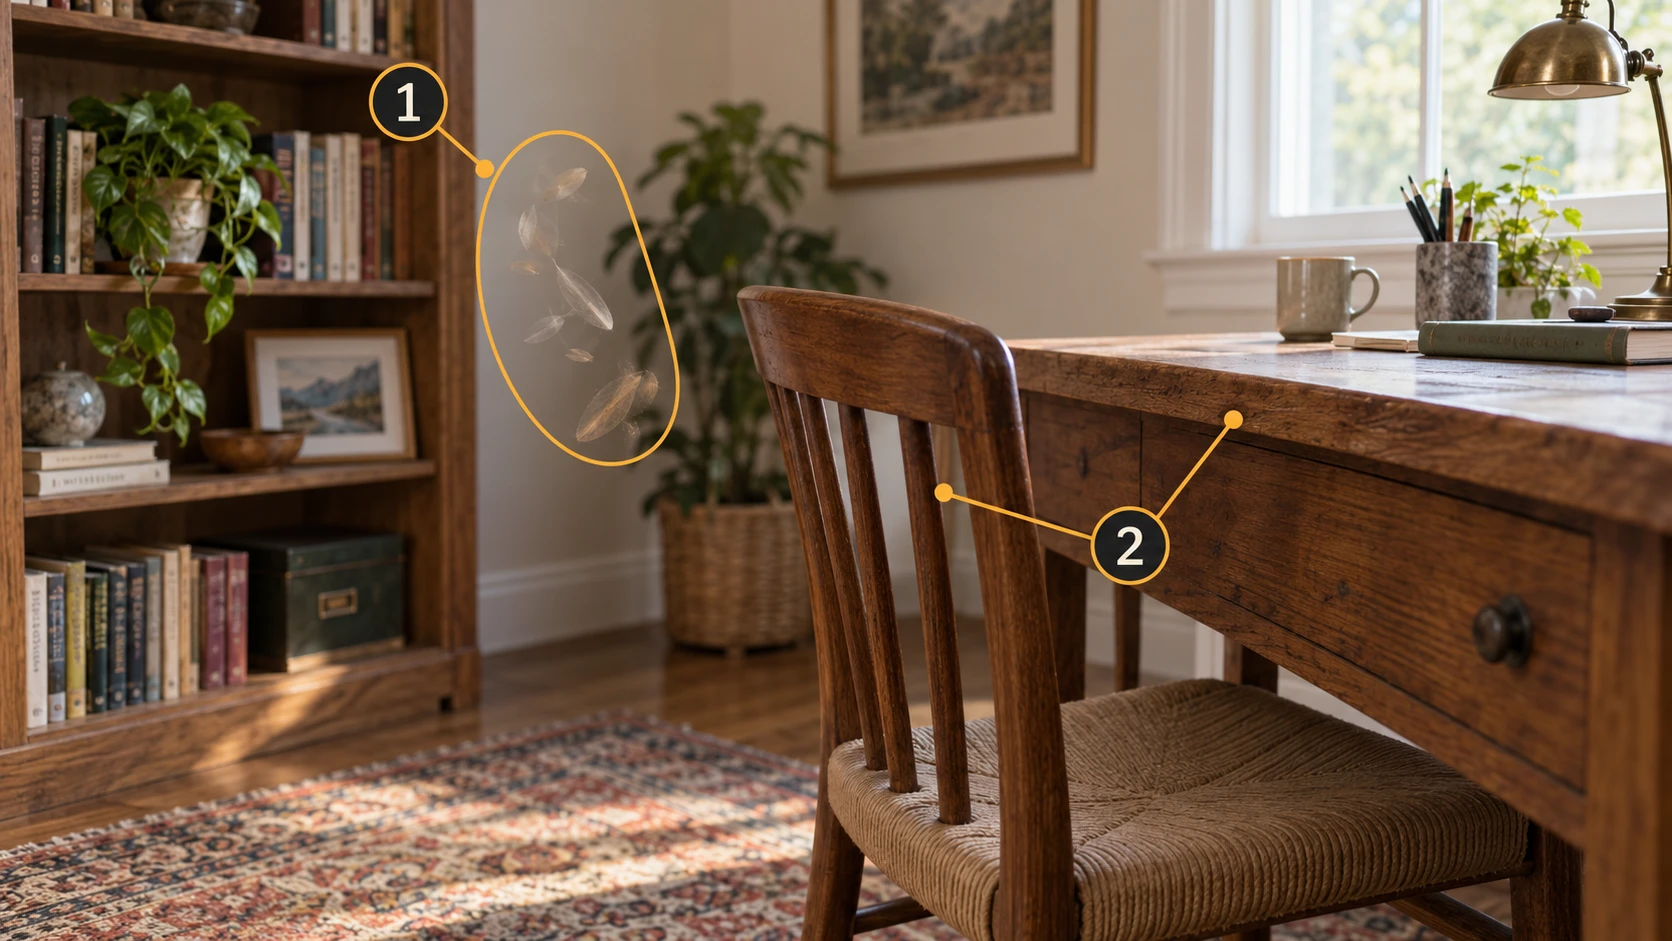
Save a copy and inspect two directions.
Inspect the fragment head-on and from the side to judge its distance from the subject. Identify the wall, desk edge and chair back behind it before making a selection.
Check the same area in the source photos.
Look for a passing person, a moved object or a temporary obstruction. Set affected frames aside in the working copy and check the remaining coverage. Fill any gaps before reconstructing again.
Remove a small, confirmed unwanted region.
Use the selection or crop tools available in your editor. Start with fragments well away from the subject. Inspect the selection from another angle before applying it, especially when a screen-space selection may include content behind the fragment.
Undo as soon as real structure disappears.
If a desk edge thins out, a chair back breaks or a hole appears in the wall, undo the edit or reopen the saved copy. Use smaller selections and check each change.
After cleanup, move around the subject in MakeWorlds Studio and inspect both the cleared area and the surfaces behind it. Check that desk edges, chair backs and walls remain intact before saving this version for further editing or export. For widespread artifacts, return to the source photos and processing log.
Missing areas: check whether the photos actually show them
Name the gap precisely: behind the chair, under the desk or along the side of a doorframe. Then look for photos of that spot instead of reviewing every detail in the scene.
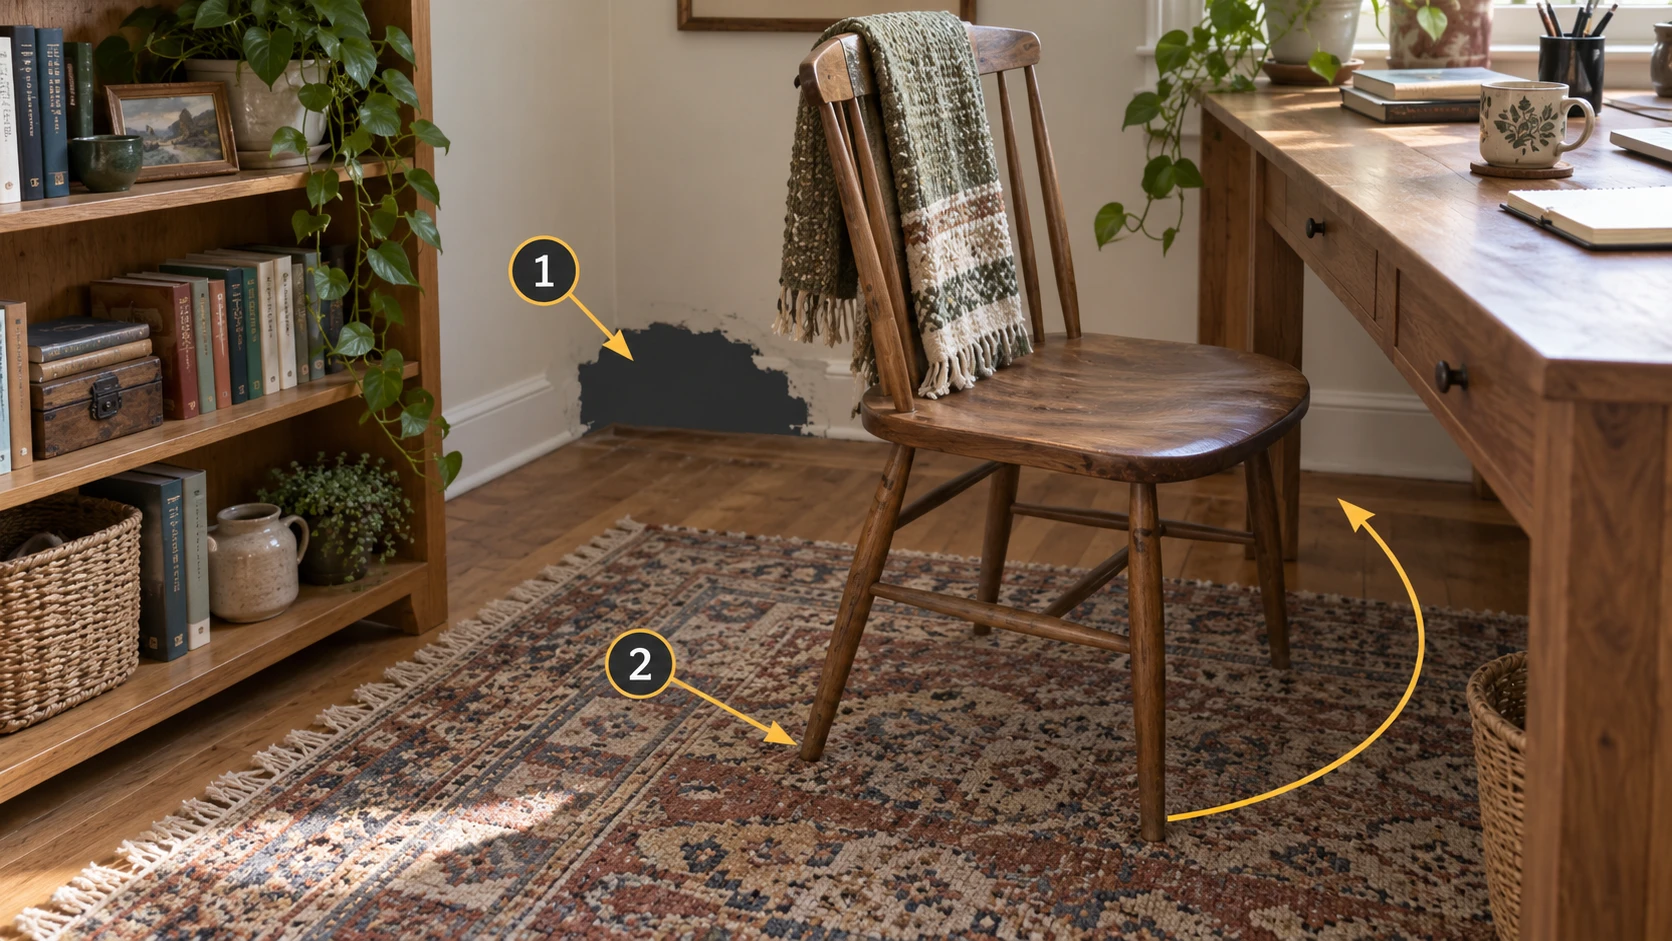
Rule out an editing mistake first.
Open the version saved before cleanup and inspect the same area. If a crop or deletion introduced the gap, reverse that edit and work on a smaller region.
Look for an unobstructed view in the photos.
Do not stop at finding the chair in a photo. Check whether the wall and floor behind it are visible. If every view is blocked, capture that area from a different position.
Capture a connected sequence around the gap.
Start from an area already covered and move around to reveal the gap. Include intact nearby features such as table legs, rug patterns or a doorframe. Lower the camera for areas under furniture, and keep the scene and lighting consistent.
If the photos show it, check whether they were used.
If the processing report lists registered or unregistered photos, check the filenames you identified. For excluded photos, inspect sharpness and neighboring views. If no list is available, save the filenames and log for support.
After adding photos and reconstructing, inspect the gap from the front, side and normal viewing height. Follow the intended walkthrough route to check newly visible surfaces as well.
Your first check, at a glance
| Symptom | First check | Next action |
|---|---|---|
| Blur | Inspect matching photos at full size. | Reshoot unclear originals; otherwise check the actual inputs and viewing quality. |
| Floaters | Inspect from the front and side. | Check source interference, then remove confirmed stray content in small regions. |
| Missing areas | Look for the missing surface in the photos. | Reshoot unseen areas; otherwise check photo registration and edit history. |
Return to the same viewpoint after each change. If the cause remains unclear, contact the MakeWorlds Studio team with your version, input type, relevant filenames, steps and screenshots. Showing where the issue appears and what you have already tried gives the investigation a useful starting point. Remove personal information from logs before sharing them.