Industrial applications · Site context and workflows
Construction Sites: Use 3D Site Records to Explain Progress and Open Issues
A progress meeting may contain dozens of photos yet still leave basic questions unresolved: which section is this, where does the roadbed end, and how does the drainage channel relate to site access? A 3D site record gives participants a shared location from which to examine the actual construction records and open issues.
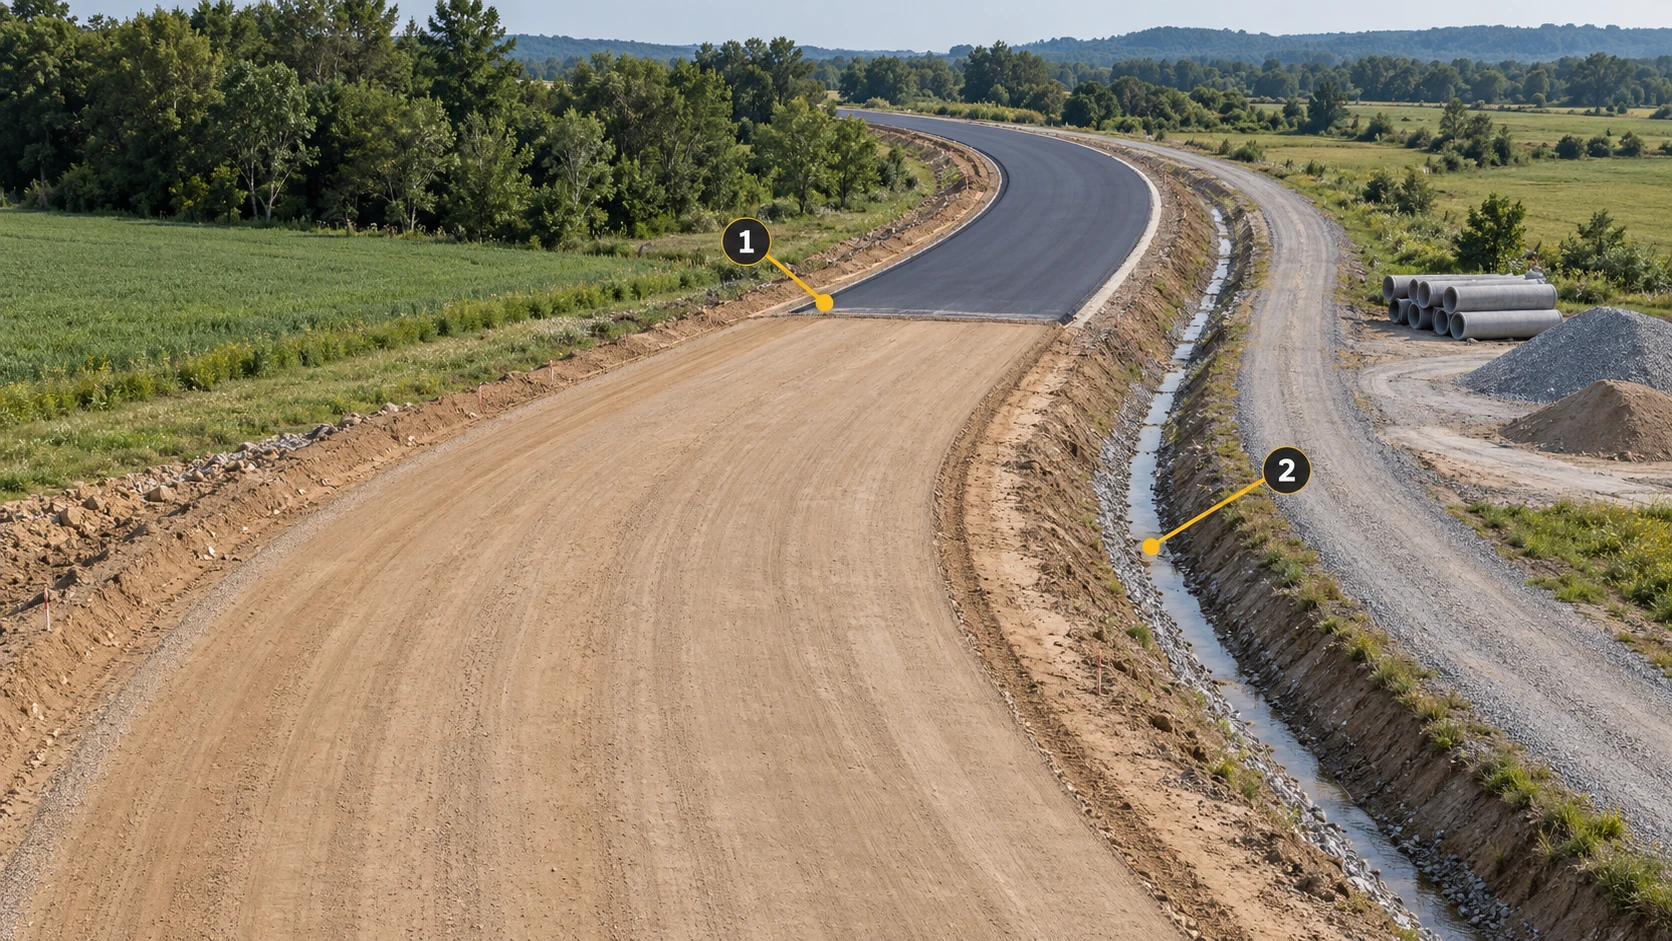
For a road-widening work zone, MakeWorlds Studio can turn the current capture into a scene the team can revisit. Establish the relationship between roadbed, drainage, temporary access and material storage, then use construction records to discuss completed work, open issues and follow-up locations.
Define the discussion this record should support
Organize the scope by section and milestone.
Identify whether the discussion concerns a roadbed section, a drainage connection or construction access. Record the section name, endpoints, milestone and participants. The first scene should explain one real question completely rather than attempt the entire road.
Turn the questions into review items.
List what the meeting must establish: the recorded extent, how temporary access connects to the work area and where the next observation should be made. Separate spatial questions from those requiring logs, survey records or site personnel.
Before the meeting, agree on the scene version, photos and construction records with the topic owner. Identify missing evidence explicitly rather than letting older imagery imply current progress. Retain the agreed material index with the meeting record for follow-up.
Locate the issue in context, then examine the detail
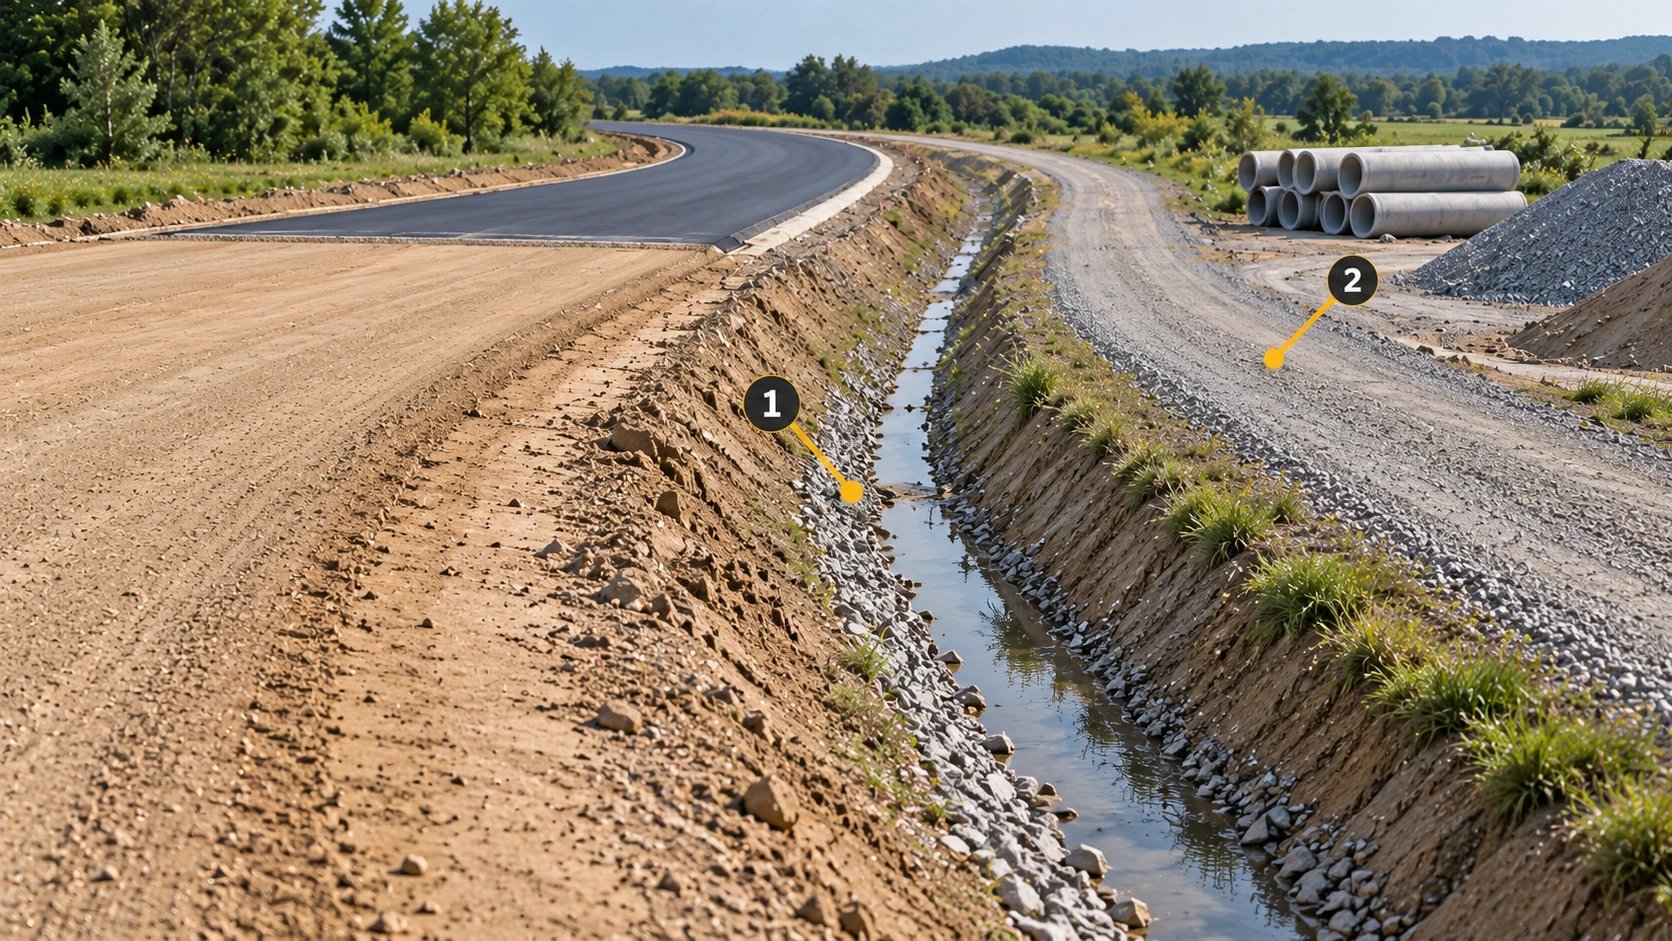
Show the road, drainage and access together.
Use aerial views for the section and surroundings, with ground photos for transitions, channel edges and occluded details. Retain shared landmarks so close views can be located reliably by someone who was not on site.
Review the scene along the discussion route.
After reconstruction in MakeWorlds Studio, follow the intended review route and check whether boundaries, access connections and important occluded areas are understandable. Refine the scene and record gaps. Use original photos or additional capture where a detail remains unclear.
Keep stages separate and identify when each scene was captured
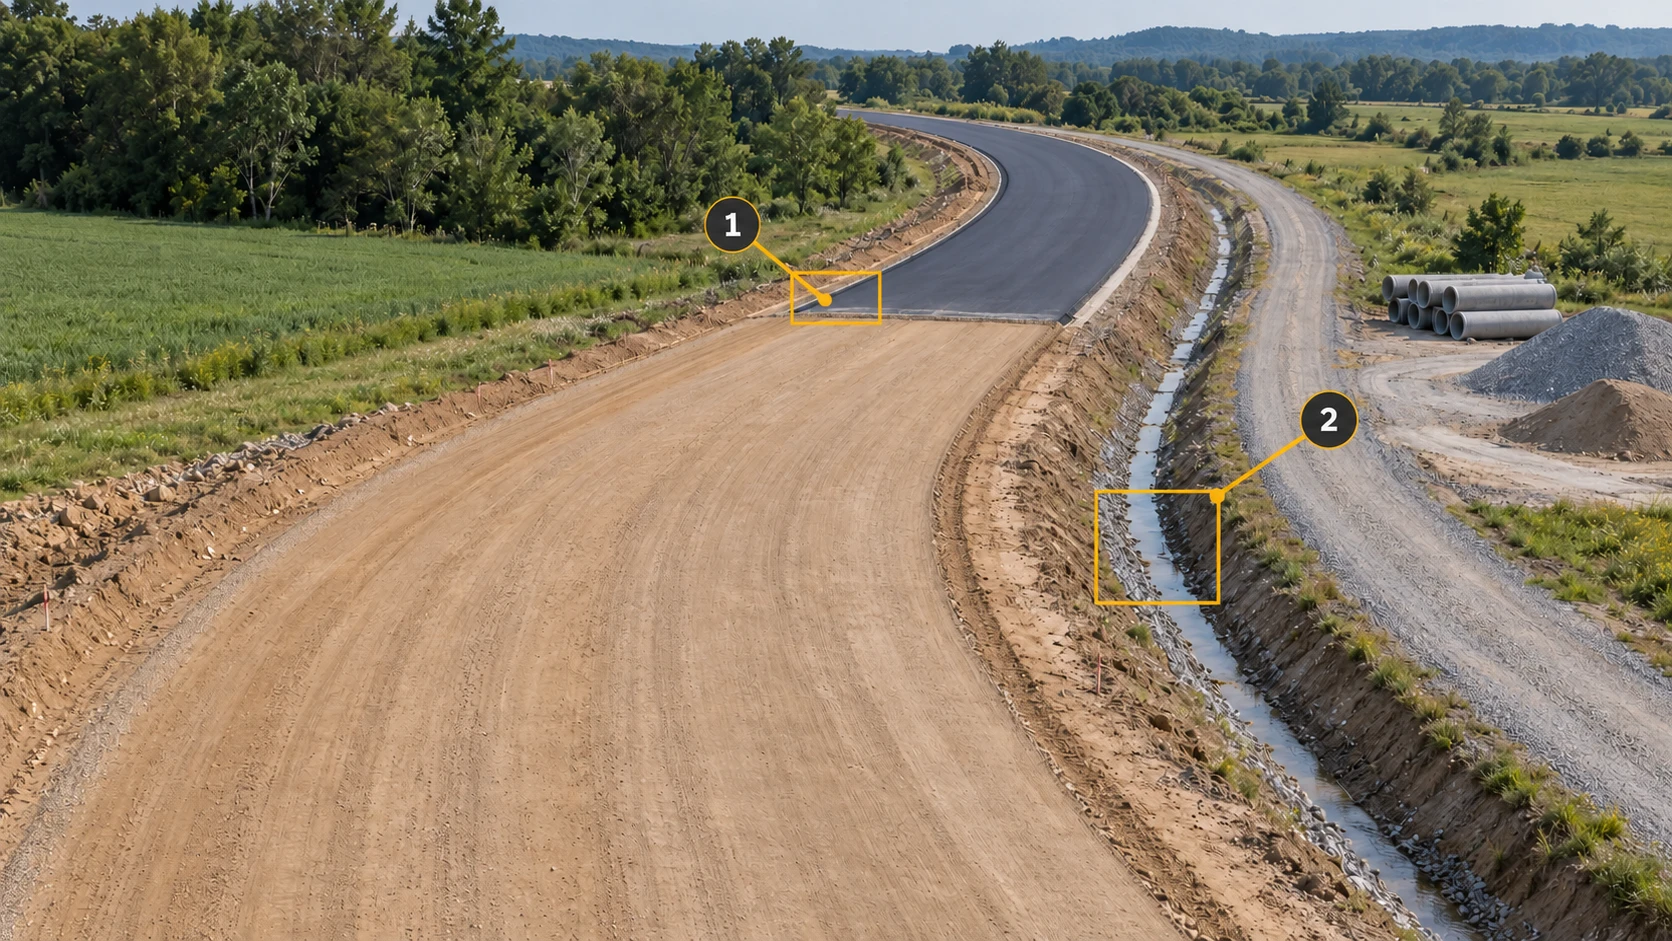
Retain separate inputs and outputs for each stage.
Roadworks change ground shape, storage positions and access. Keep different dates or substantially different conditions in separate reconstruction sets. Record capture date, coverage, inputs and the prepared version for each output.
Revisit stages from comparable viewpoints.
Choose recognizable landmarks at the paving transition and drainage locations. For later reviews, prepare comparable views alongside the matching photos and construction records. Account for different viewpoints, coverage gaps and lighting before interpreting a change.
Stage review relies on organized project records and human verification. Quantities, quality acceptance and safety decisions still require the relevant professional records and site procedures.
Carry the location into the meeting and follow-up record
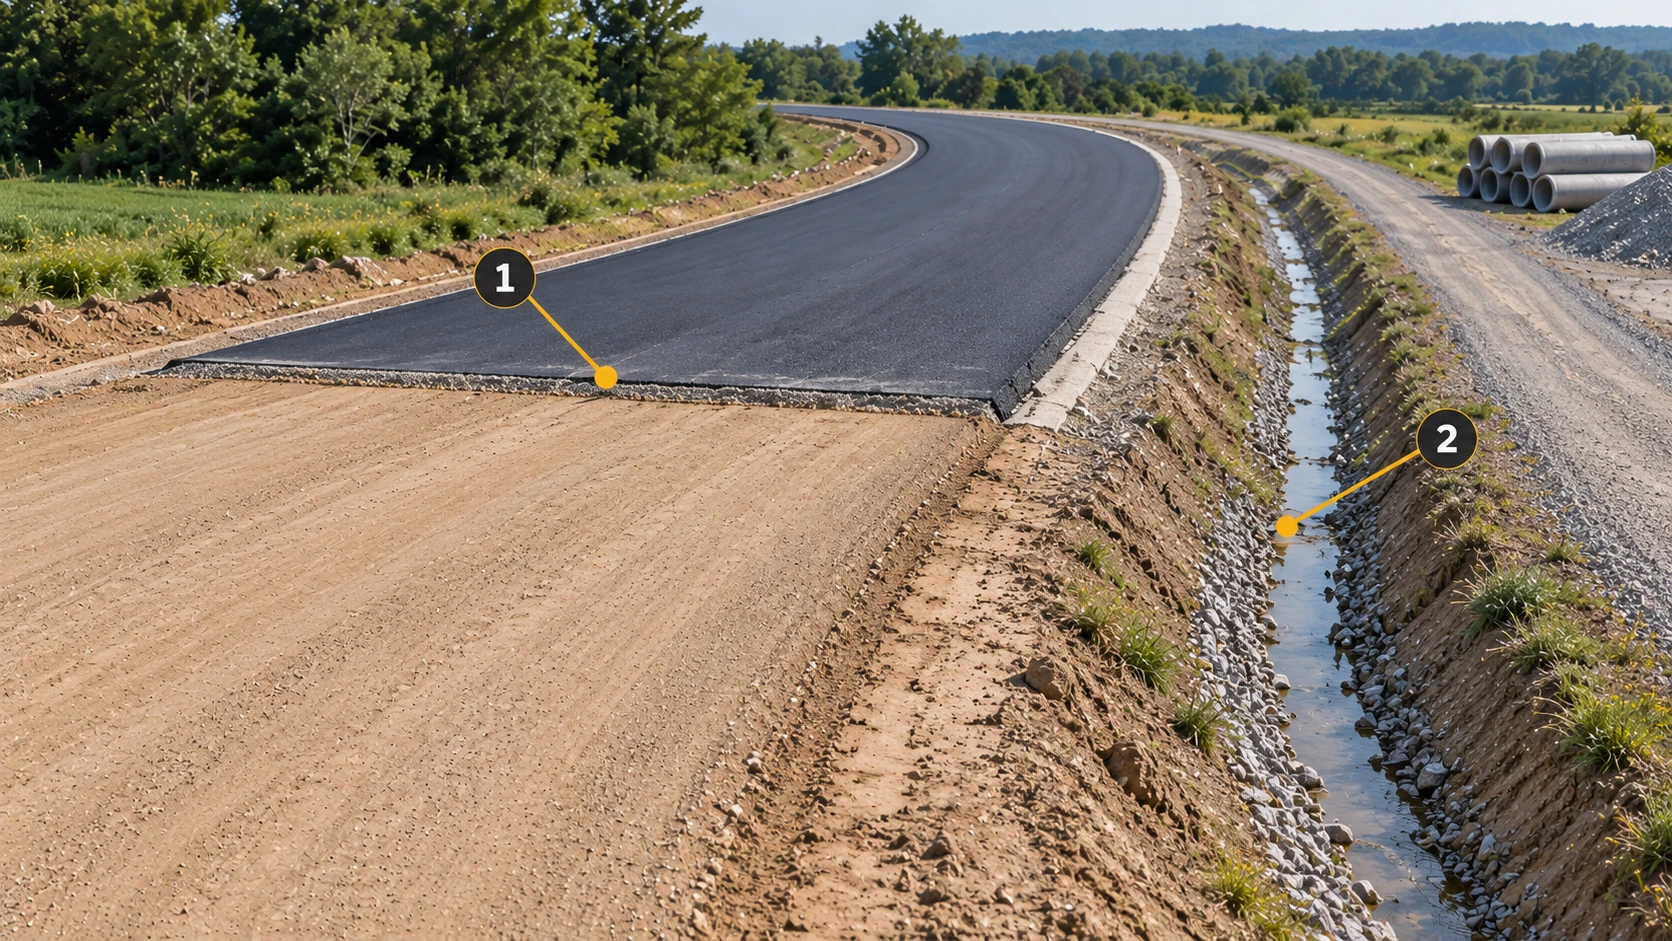
Give each issue a location and supporting material.
Record the section, part, viewing direction, photo filenames and scene version. State what remains unconfirmed and who should supply the missing evidence. Keep discussion comments distinct from a completed resolution.
Return decisions to the existing project records.
Record owners, next actions and follow-up requirements in the existing project process. Add new photos and capture times during verification, and state what has been confirmed. The scene supplies spatial context while project records retain the decision history.
Validate the handoff with one work section
Ask someone outside the capture team to review it.
Give the package to an intended recipient who did not capture it. Ask them to locate a point, explain its surroundings and identify open questions. Resolve naming, photo retrieval, version and coverage problems before extending the scope.
Make the next stage repeatable.
Agree on repeat viewpoints, required record fields and ownership of the next package. The pilot should establish a repeatable method matched to the site and its recipients, giving later capture a clear delivery target.
What belongs in a stage record package
| Item | Required context | Use |
|---|---|---|
| Section and extent | Name, endpoints and capture extent. | Locate the same work area. |
| Capture and version | Capture date, input batch and output version. | Identify the stage represented. |
| Scene and photos | Usable scene output, detail photos and viewing directions. | Place details in context. |
| Issues and follow-up | Record reference, owner, open questions and follow-up evidence. | Connect decisions with the next action. |
Before extending the pilot
- Different participants can locate the same section and understand the record’s time and extent.
- Detail photos can be located in the scene, with missing observations recorded.
- Issues have identifiable evidence and owners, with verification returned to project records.
- Recipients can open the output and trace it back to the original material.
Start with a scene sample of one roadwork section from MakeWorlds Studio, its detail photos and issue list. Have the project team review the package and verify that locations, evidence and follow-up connect before selecting further sections.