Industrial applications · Site context and workflows
Factory Inspection: From a Detail Photo to a Traceable Site Record
A close photo may show a detail clearly without identifying the pump, nearby aisle or viewpoint needed for the next inspection. Where many units look alike, filenames and verbal descriptions leave recipients reconstructing the context. A 3D inspection record should first help them locate the right equipment and observation.
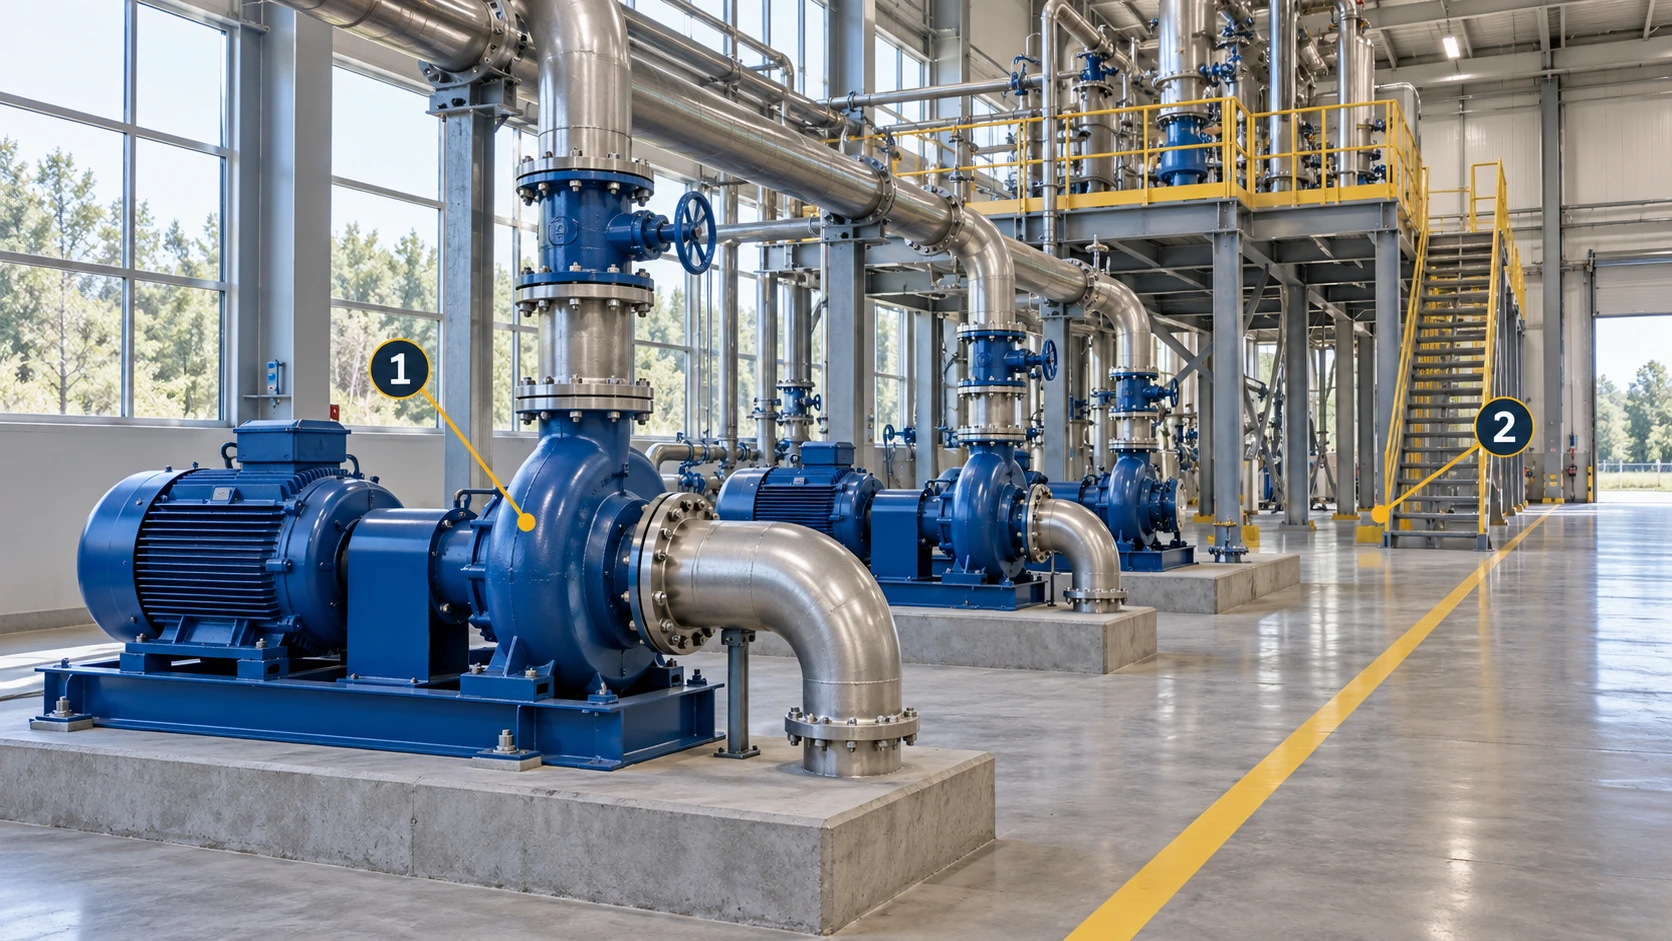
Reconstruct a pump aisle in MakeWorlds Studio and inspect equipment outlines, platforms and occlusions. The scene provides shared spatial context; current detail photos, instrument readings and inspection records provide current evidence. Keep equipment identity and timestamps explicit when using those sources together.
Establish equipment identity and location
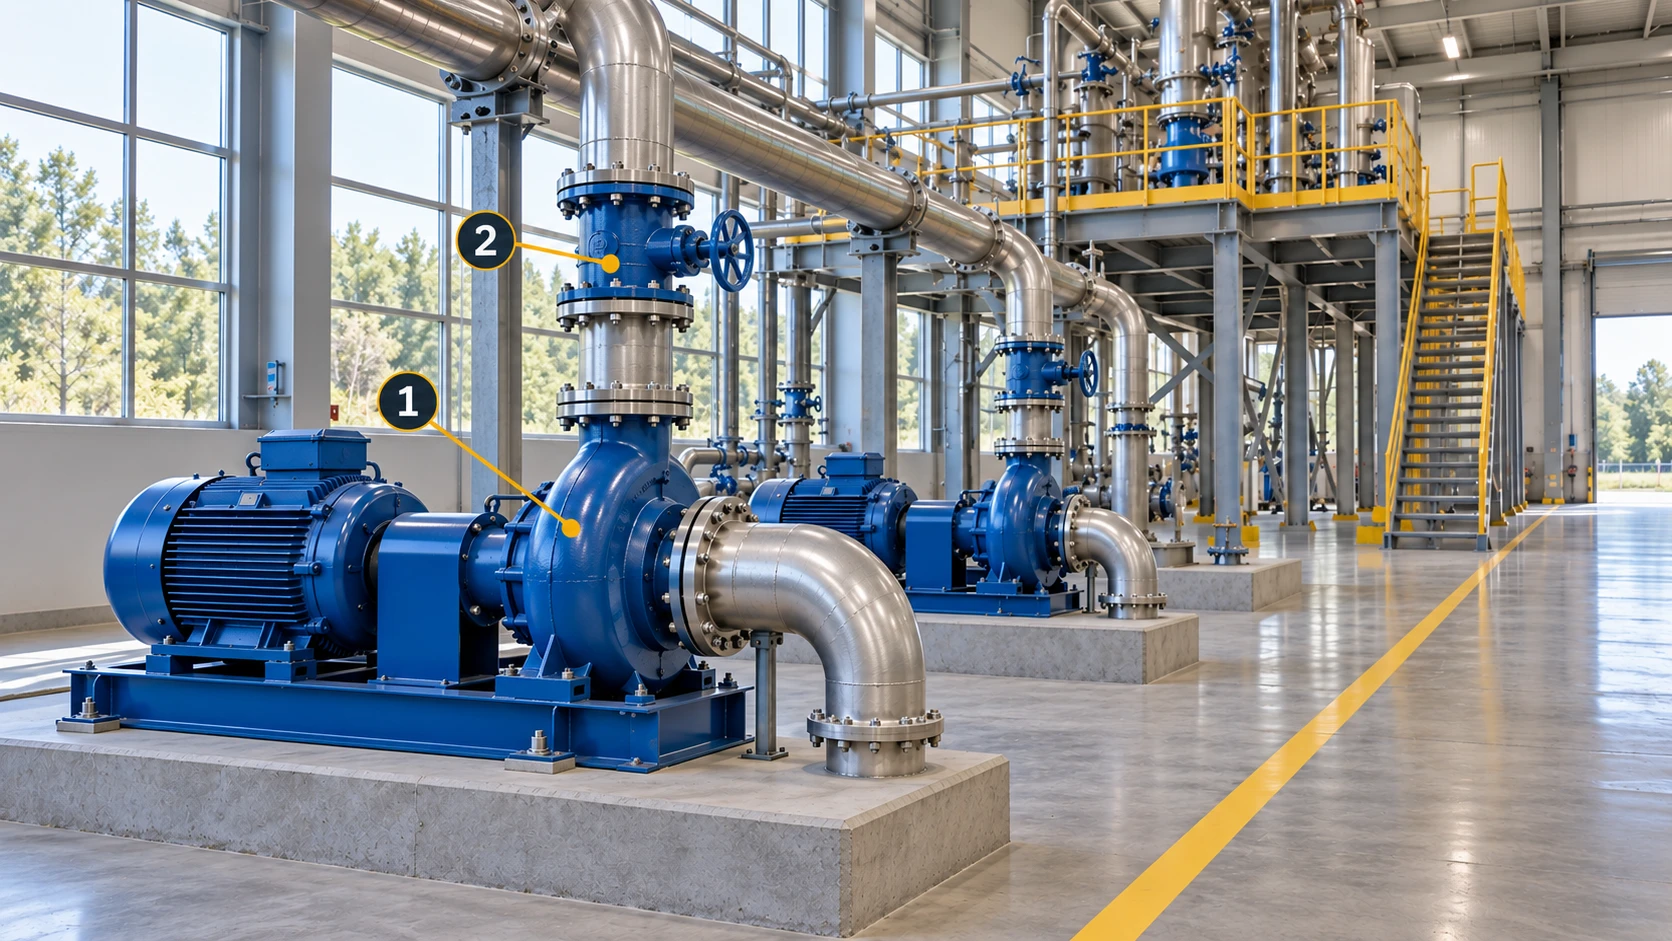
Use the existing asset register for identity.
Confirm asset ID, area and common name against the existing register. Use nearby pipes, columns and aisle entrances to locate similar units, but not as substitutes for the ID. Ask the register owner to resolve inconsistent names rather than creating a parallel naming scheme.
Include the equipment’s surroundings.
Capture the unit, connected pipework, nearby valves and observation positions together. A pump-only close-up may not identify its row or side. Where a platform is involved, show how it connects to ground-level access so follow-up can be planned.
Prepare shared spatial context
Scope the first scene around an inspection route.
Begin with one equipment area or an established route. Agree whether the material is mainly for locating assets, explaining viewpoints or supporting maintenance discussions. Verify coverage of those needs before adding more areas.
Inspect the result from the viewpoints people need.
After reconstruction in MakeWorlds Studio, inspect the pump front, neighbors and platform connection. Check that geometry and occlusions support the location discussion, refine the scene and retain source photos for unclear details. Use current close-ups and appropriate inspection evidence for the detail itself.
Connect the photo, viewpoint and issue reference
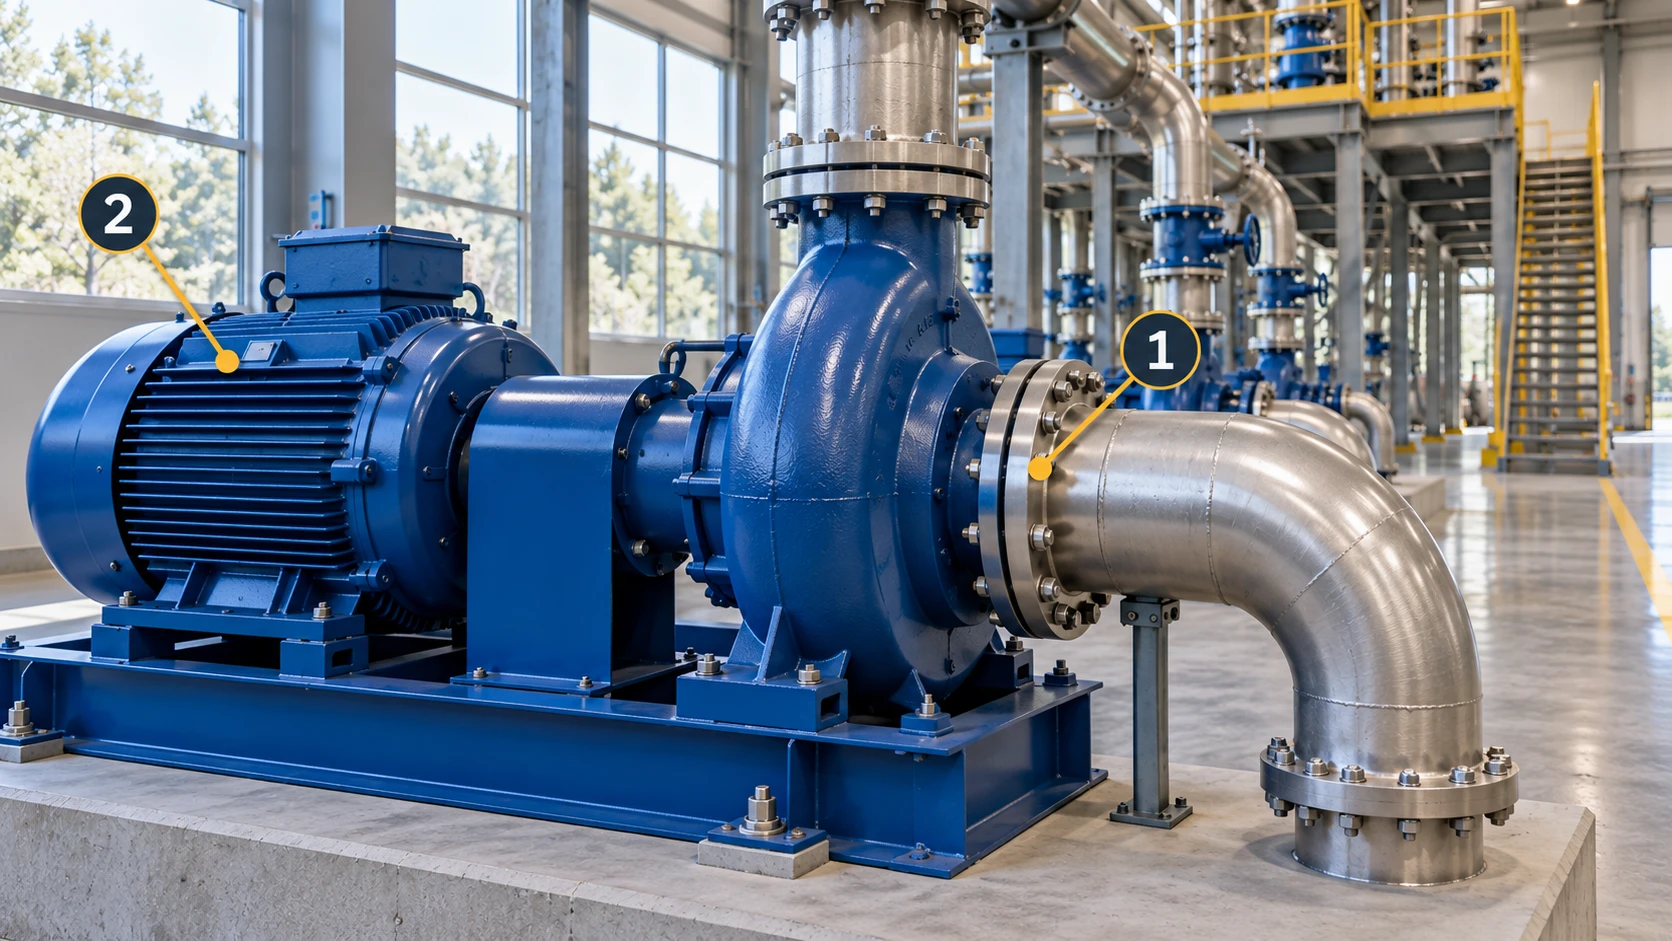
Keep an overall view and the matching detail.
Keep a context view before taking the detail photo. Record filenames, capture time, viewing direction and asset ID. Retain new evidence separately when conditions change rather than replacing the photos used in an earlier discussion.
Add location context to the existing issue record.
State where the observation was made, what was observed and what remains to be checked. Reference the scene version and photos, distinguishing observations from interpretations. Manage associations in project records or the existing inspection system; validate ID mapping, permissions and links if adding clickable access in a viewer.
Record scene capture time separately from the inspection time. A historical scene explains location, not current condition. After site changes, verify that the earlier viewpoints and equipment relationships still apply.
Keep action and verification in the existing workflow
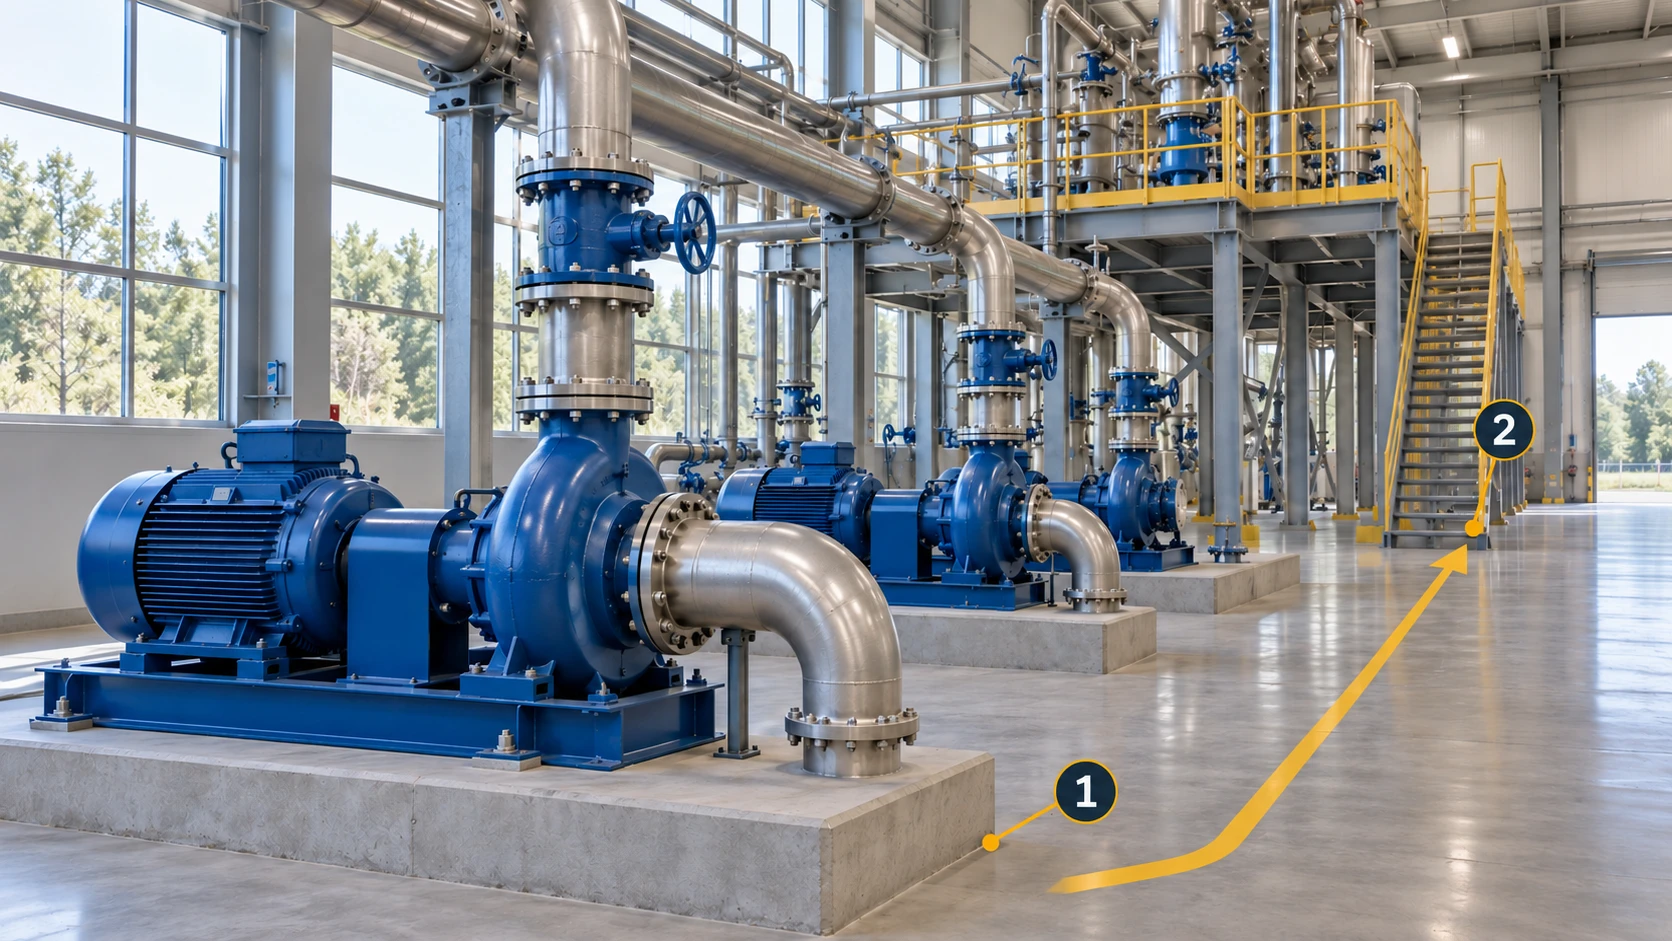
Assign the next action and required evidence.
Use the established inspection, maintenance or work-order process to assign responsibility and specify the missing photo, reading or site check. The scene can explain surroundings, but does not replace professional judgment. Handover should communicate the required action as well as the file.
Verify the same asset from the relevant position.
Find the asset by ID, revisit the recorded direction and add new photos, time and findings to the original issue. If the viewpoint has changed, explain the relationship to the earlier one rather than treating a different image as proof of resolution.
Test the handover on one inspection route
Ask the recipient to locate the asset and record independently.
Give an operations participant an asset ID and an issue reference. Ask them to locate the unit, identify the observation and find its photos. If extensive verbal guidance is still needed, identify whether area naming, viewpoints or register mapping is missing.
Turn pilot findings into requirements for the next area.
Check that follow-up can be recorded through the existing process and that owners can maintain scene versions and associations. Keep the fields and viewpoints that proved useful before expanding; the pilot succeeds through usable connections, not marker count.
Have inspection, maintenance and record owners use the same pilot package independently. Capture information that still requires verbal explanation and add it to the asset identity, viewpoint or record notes. Retain one agreed example for future areas.
Information needed for a traceable record
| Information | What to retain | Responsible role |
|---|---|---|
| Asset and area | Asset ID, area and register mapping. | Asset register owner. |
| Location and imagery | Viewpoint, direction, filenames and capture time. | Capture or inspection staff. |
| Scene version | Scene extent, capture date and referenced version. | Scene record owner. |
| Issue and verification | Record reference, owner, action evidence and verification. | Established inspection or maintenance workflow. |
Four questions for the pilot
- Can the recipient identify the correct unit rather than a similar neighbor?
- Can they understand the detail photo’s position, direction and surroundings?
- Can they retrieve the record and distinguish scene time from inspection time?
- Can follow-up be completed and retained through the existing process?
Start in MakeWorlds Studio with one equipment aisle, then pair its revisitable scene with existing asset IDs and inspection records. Have the intended users complete a location, discussion and verification cycle before choosing the next areas.